App Store Connect Help

Support / App Store Connect / Manage app accessibility / Manage Accessibility Nutrition Labels

Manage app accessibility

Manage Accessibility Nutrition Labels

Review the evaluation criteria for each label before you begin indicating support for the accessibility features.

Learn how to manage Accessibility Nutrition Labels with the App Store Connect API.

Required role: Account Holder, Admin, Finance, App Manager, or Marketing. View role permissions.

Indicate your app’s accessibility support

  1. In Apps, select the app you want to view.

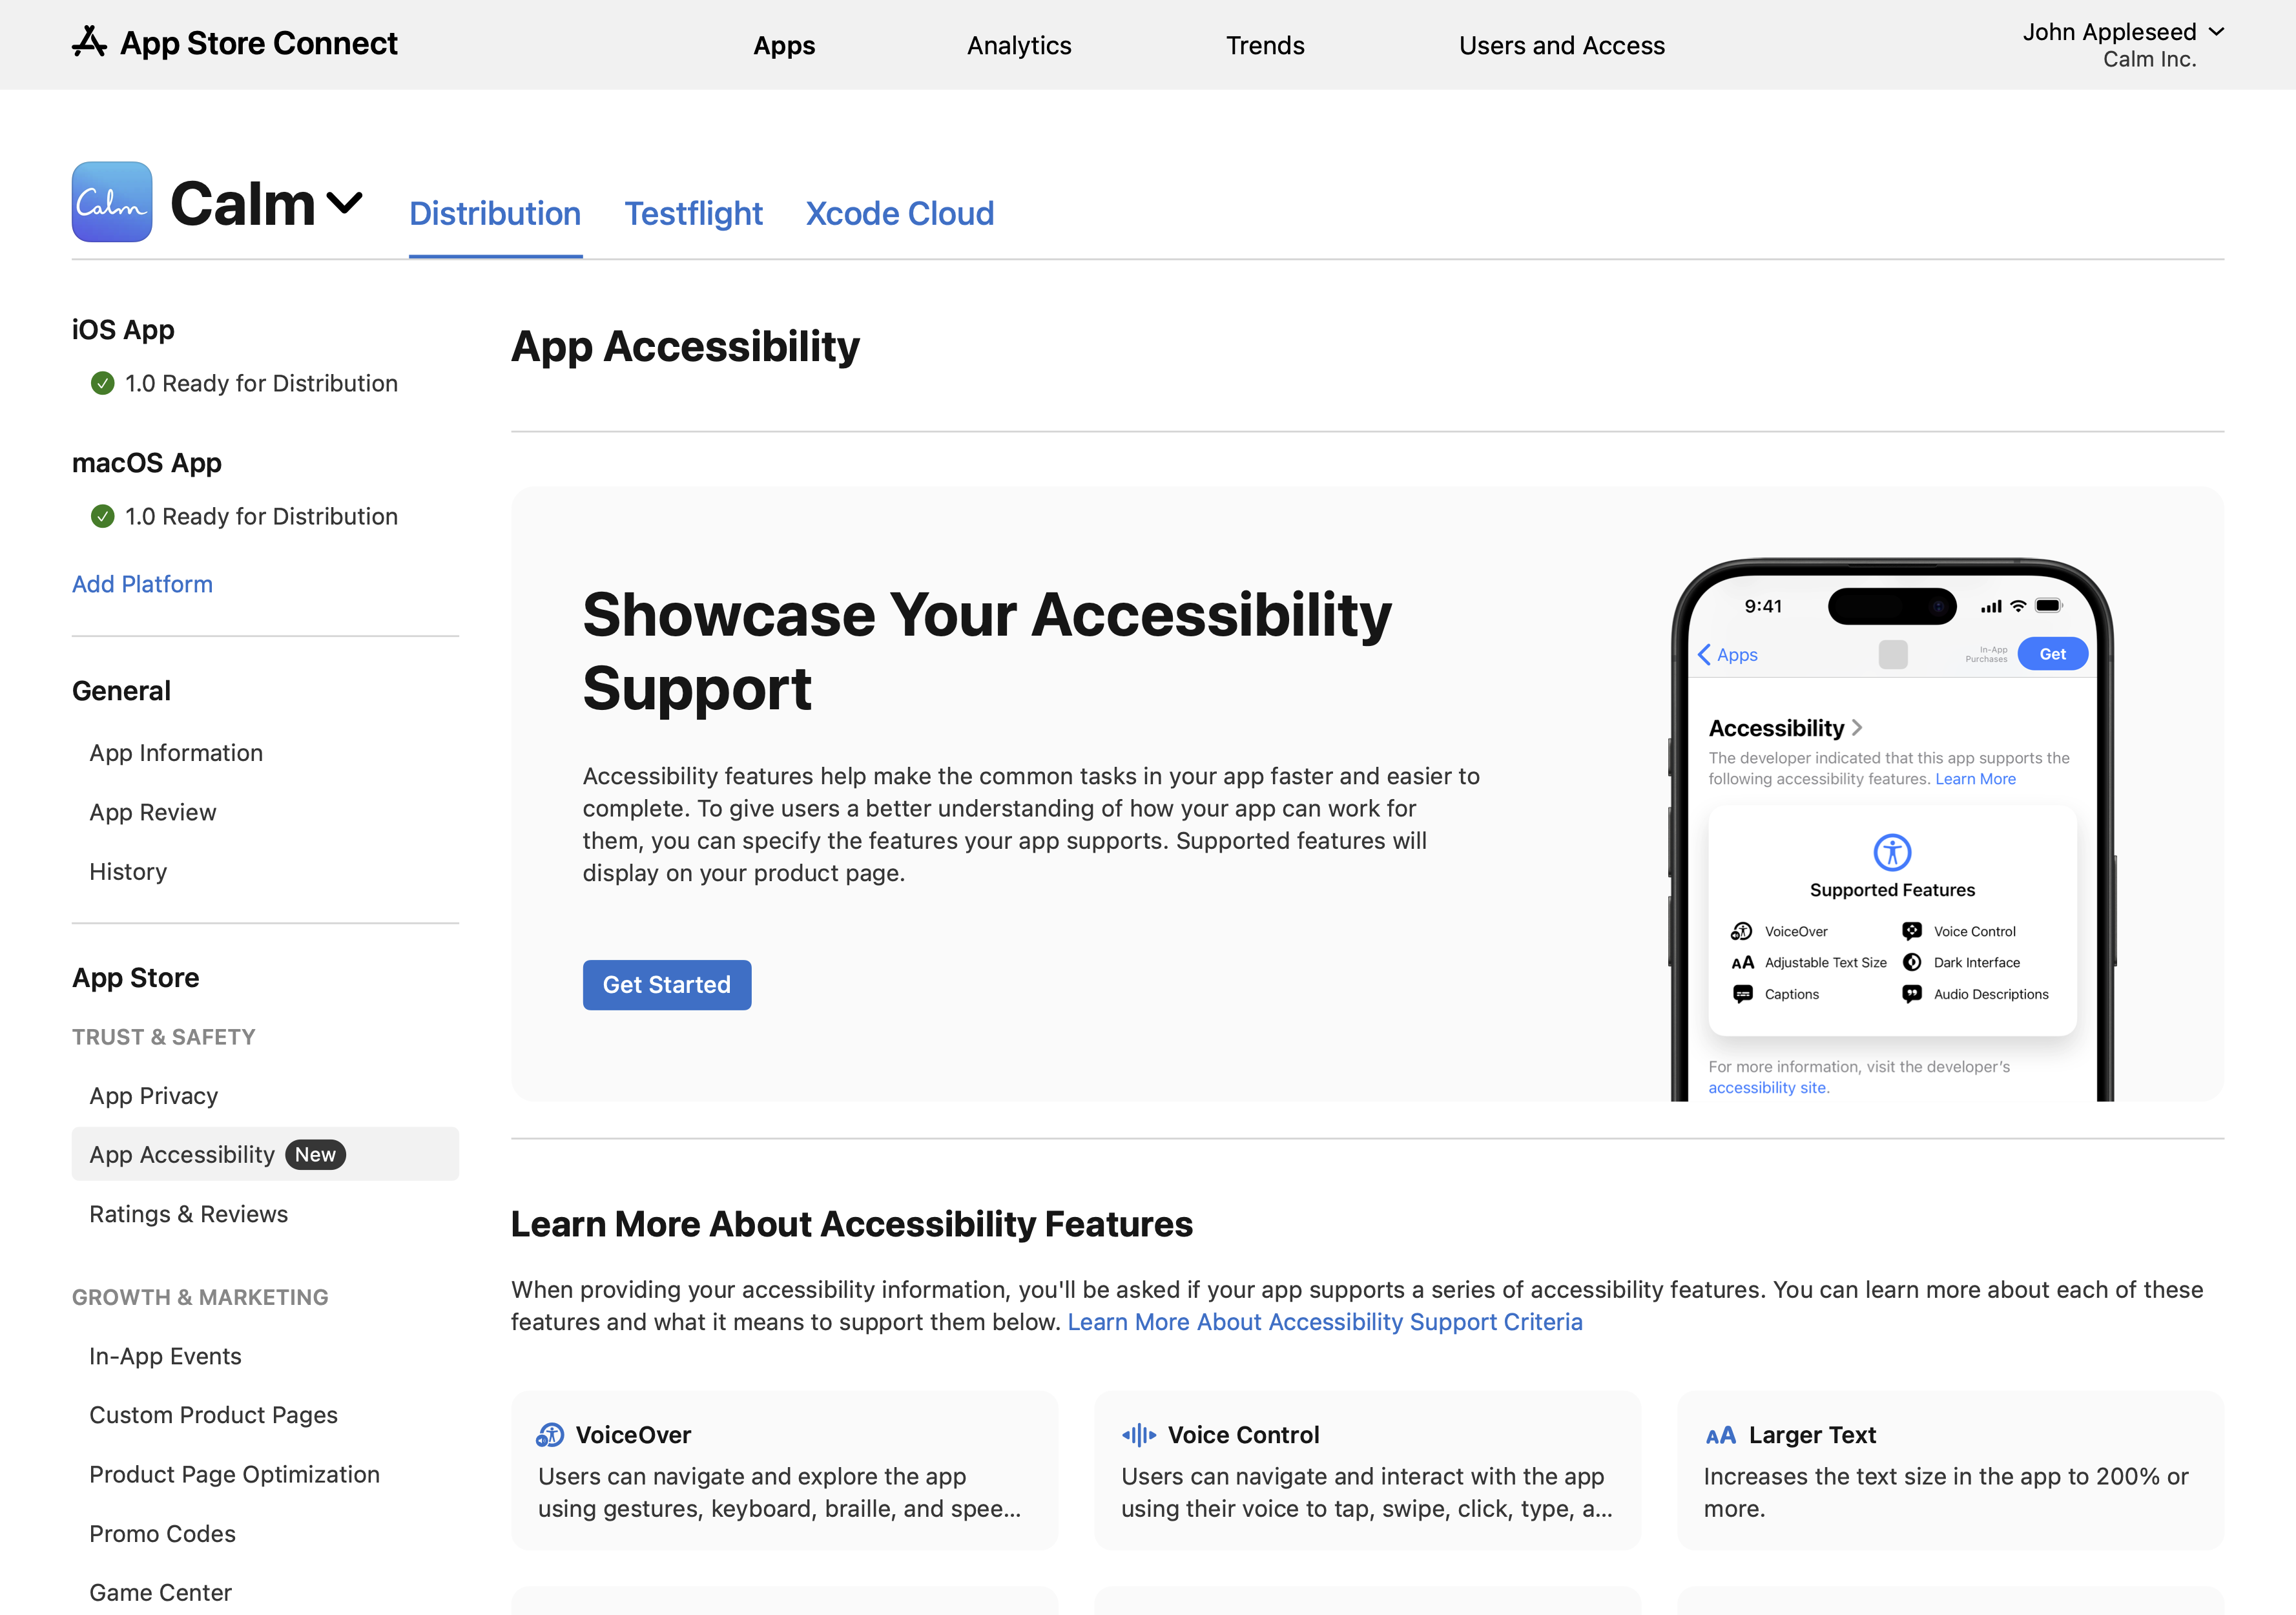
  2. In the sidebar, click App Accessibility.

  3. On the right, click Get Started.

    Screenshot of the "App Accessibility" page shows a section to showcase accessibility support with a "Get Started" button, a mobile device displaying the accessibility features supported by the app, and a section to learn more about accessibility features such as VoiceOver, Voice Control, and Larger Text.
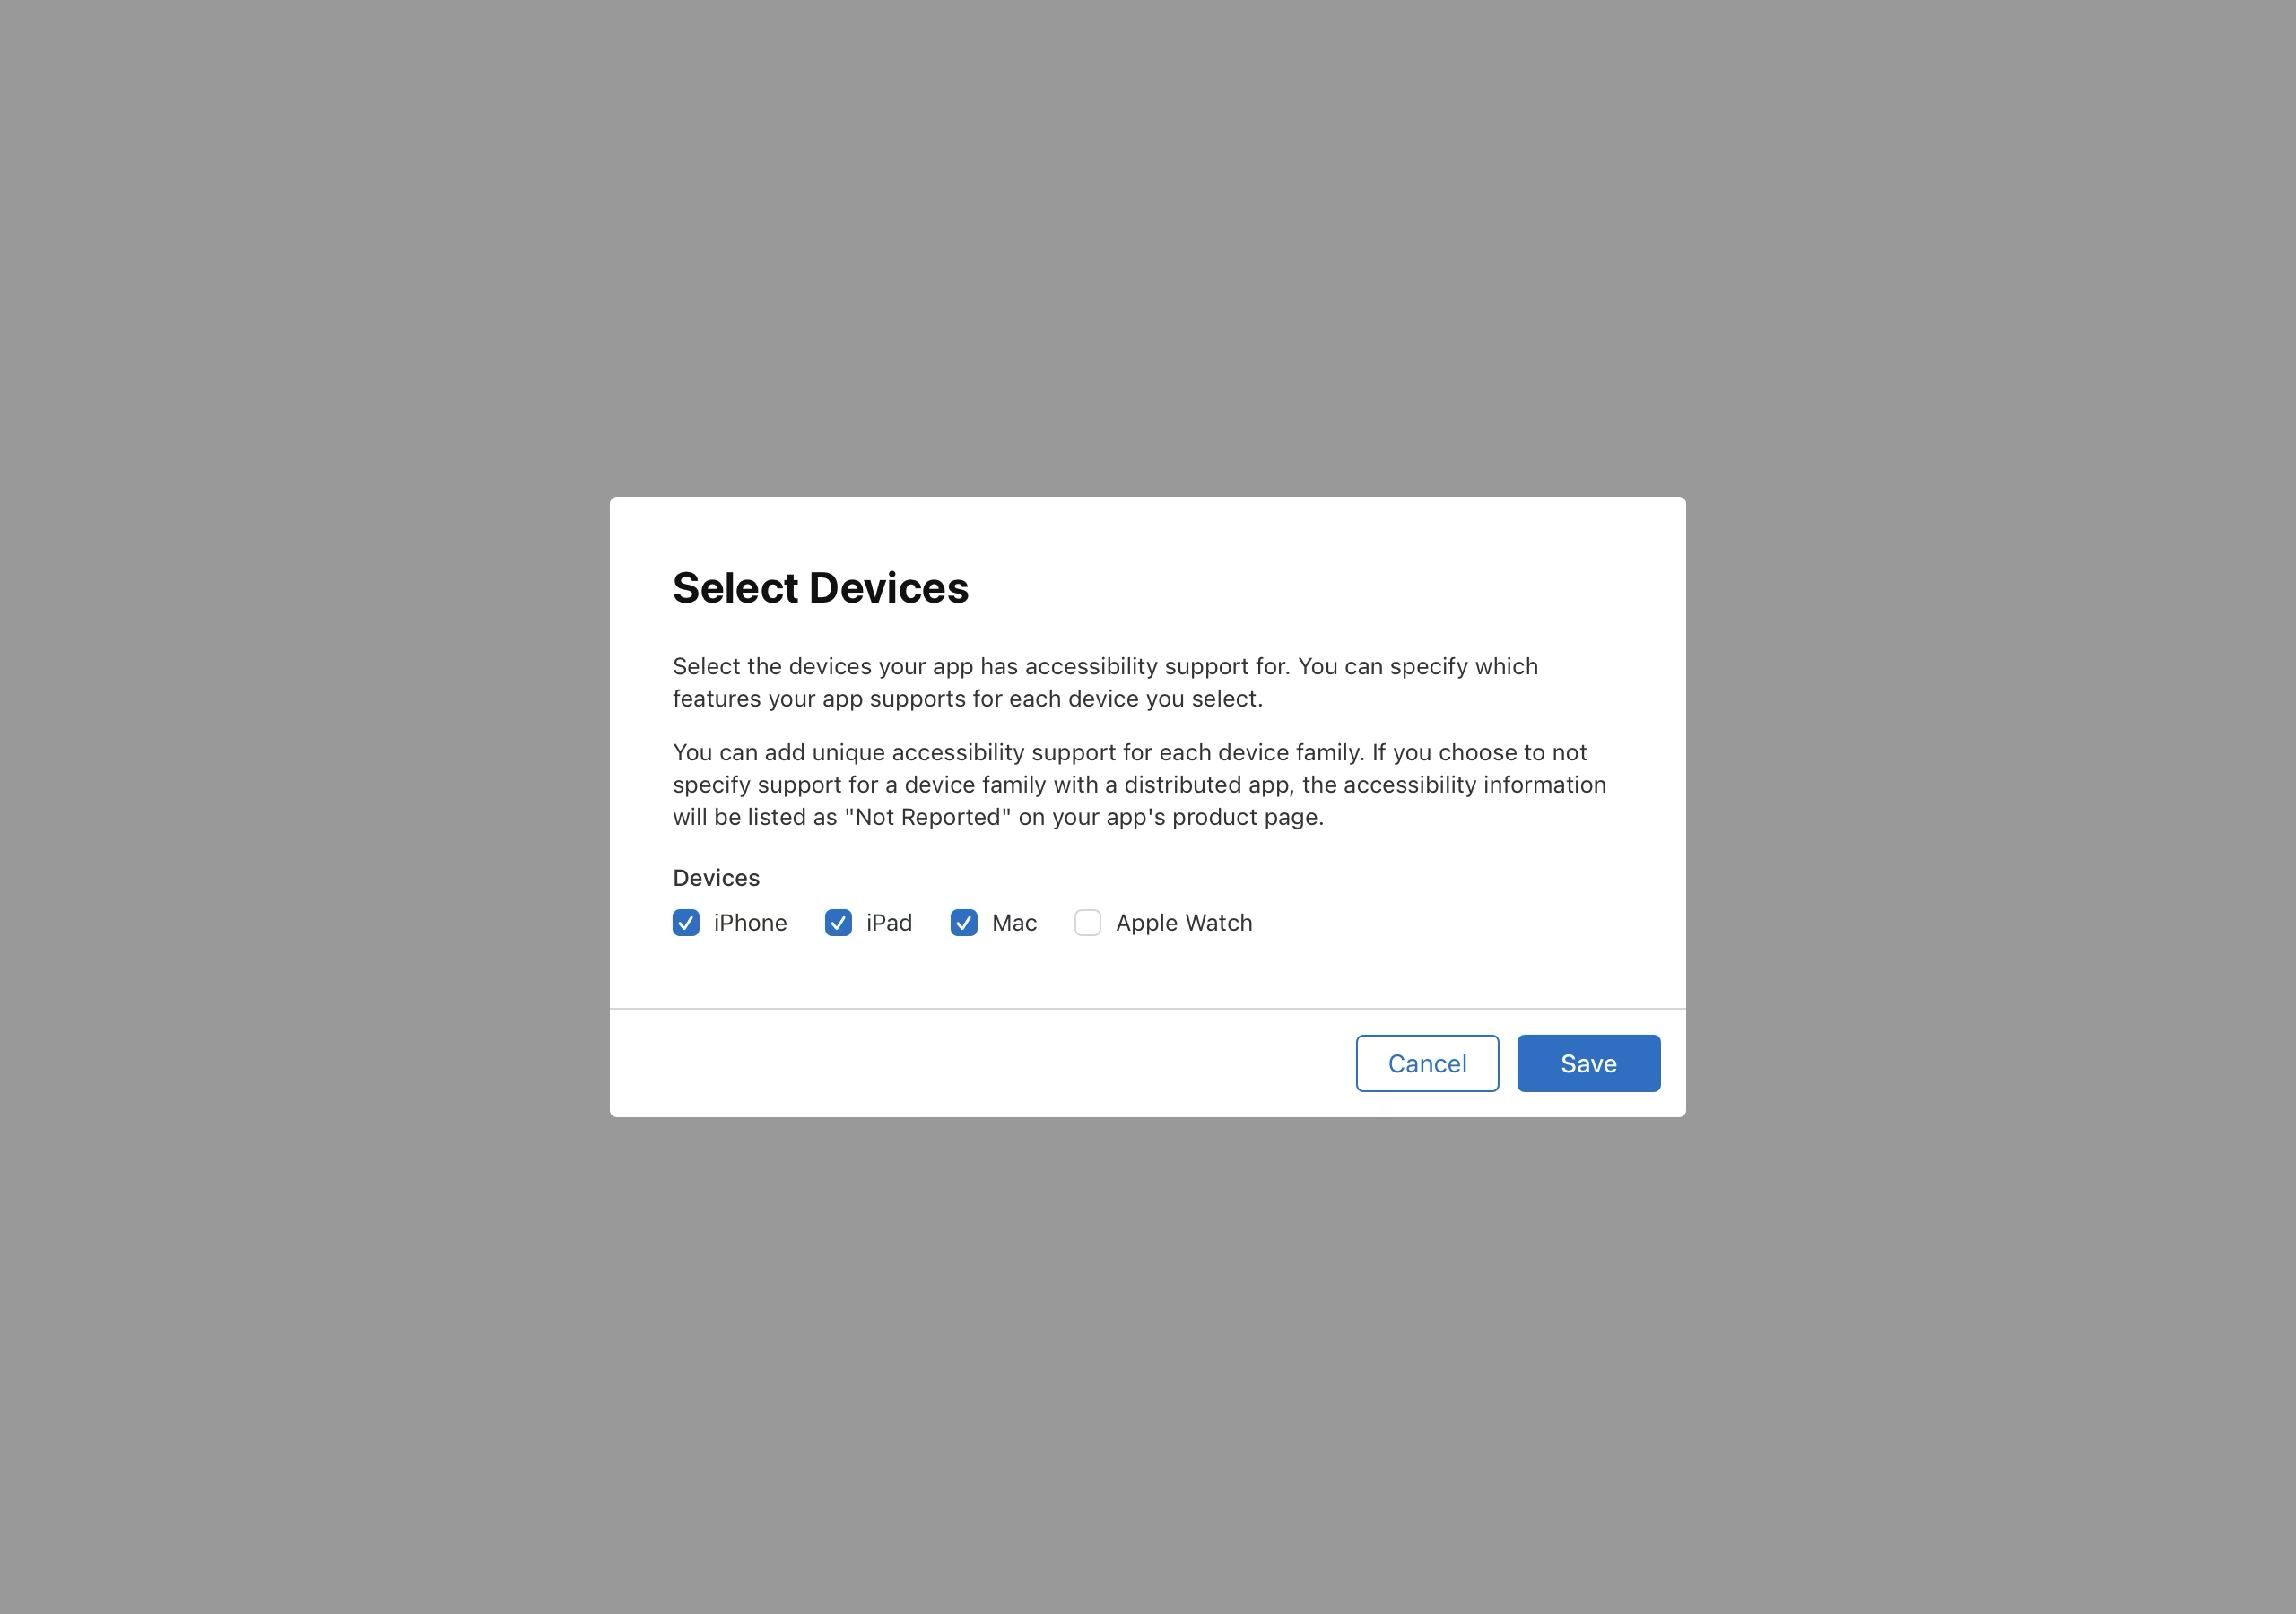
  4. We automatically detect the devices your app supports if your latest app version is live on the App Store, or if your app record only support one device, like Mac. If the latest version of your app is in an editable state, like Prepare for Submission, select the devices you want to add accessibility support for, then click Save.

    Screenshot of a popup window titled "Select Devices" asks the user to select the devices their app has accessibility support for. Checkboxes are provided for iPhone, iPad, Mac, and Apple Watch. The first three are checked. There are "Cancel" and "Save" buttons at the bottom of the window.
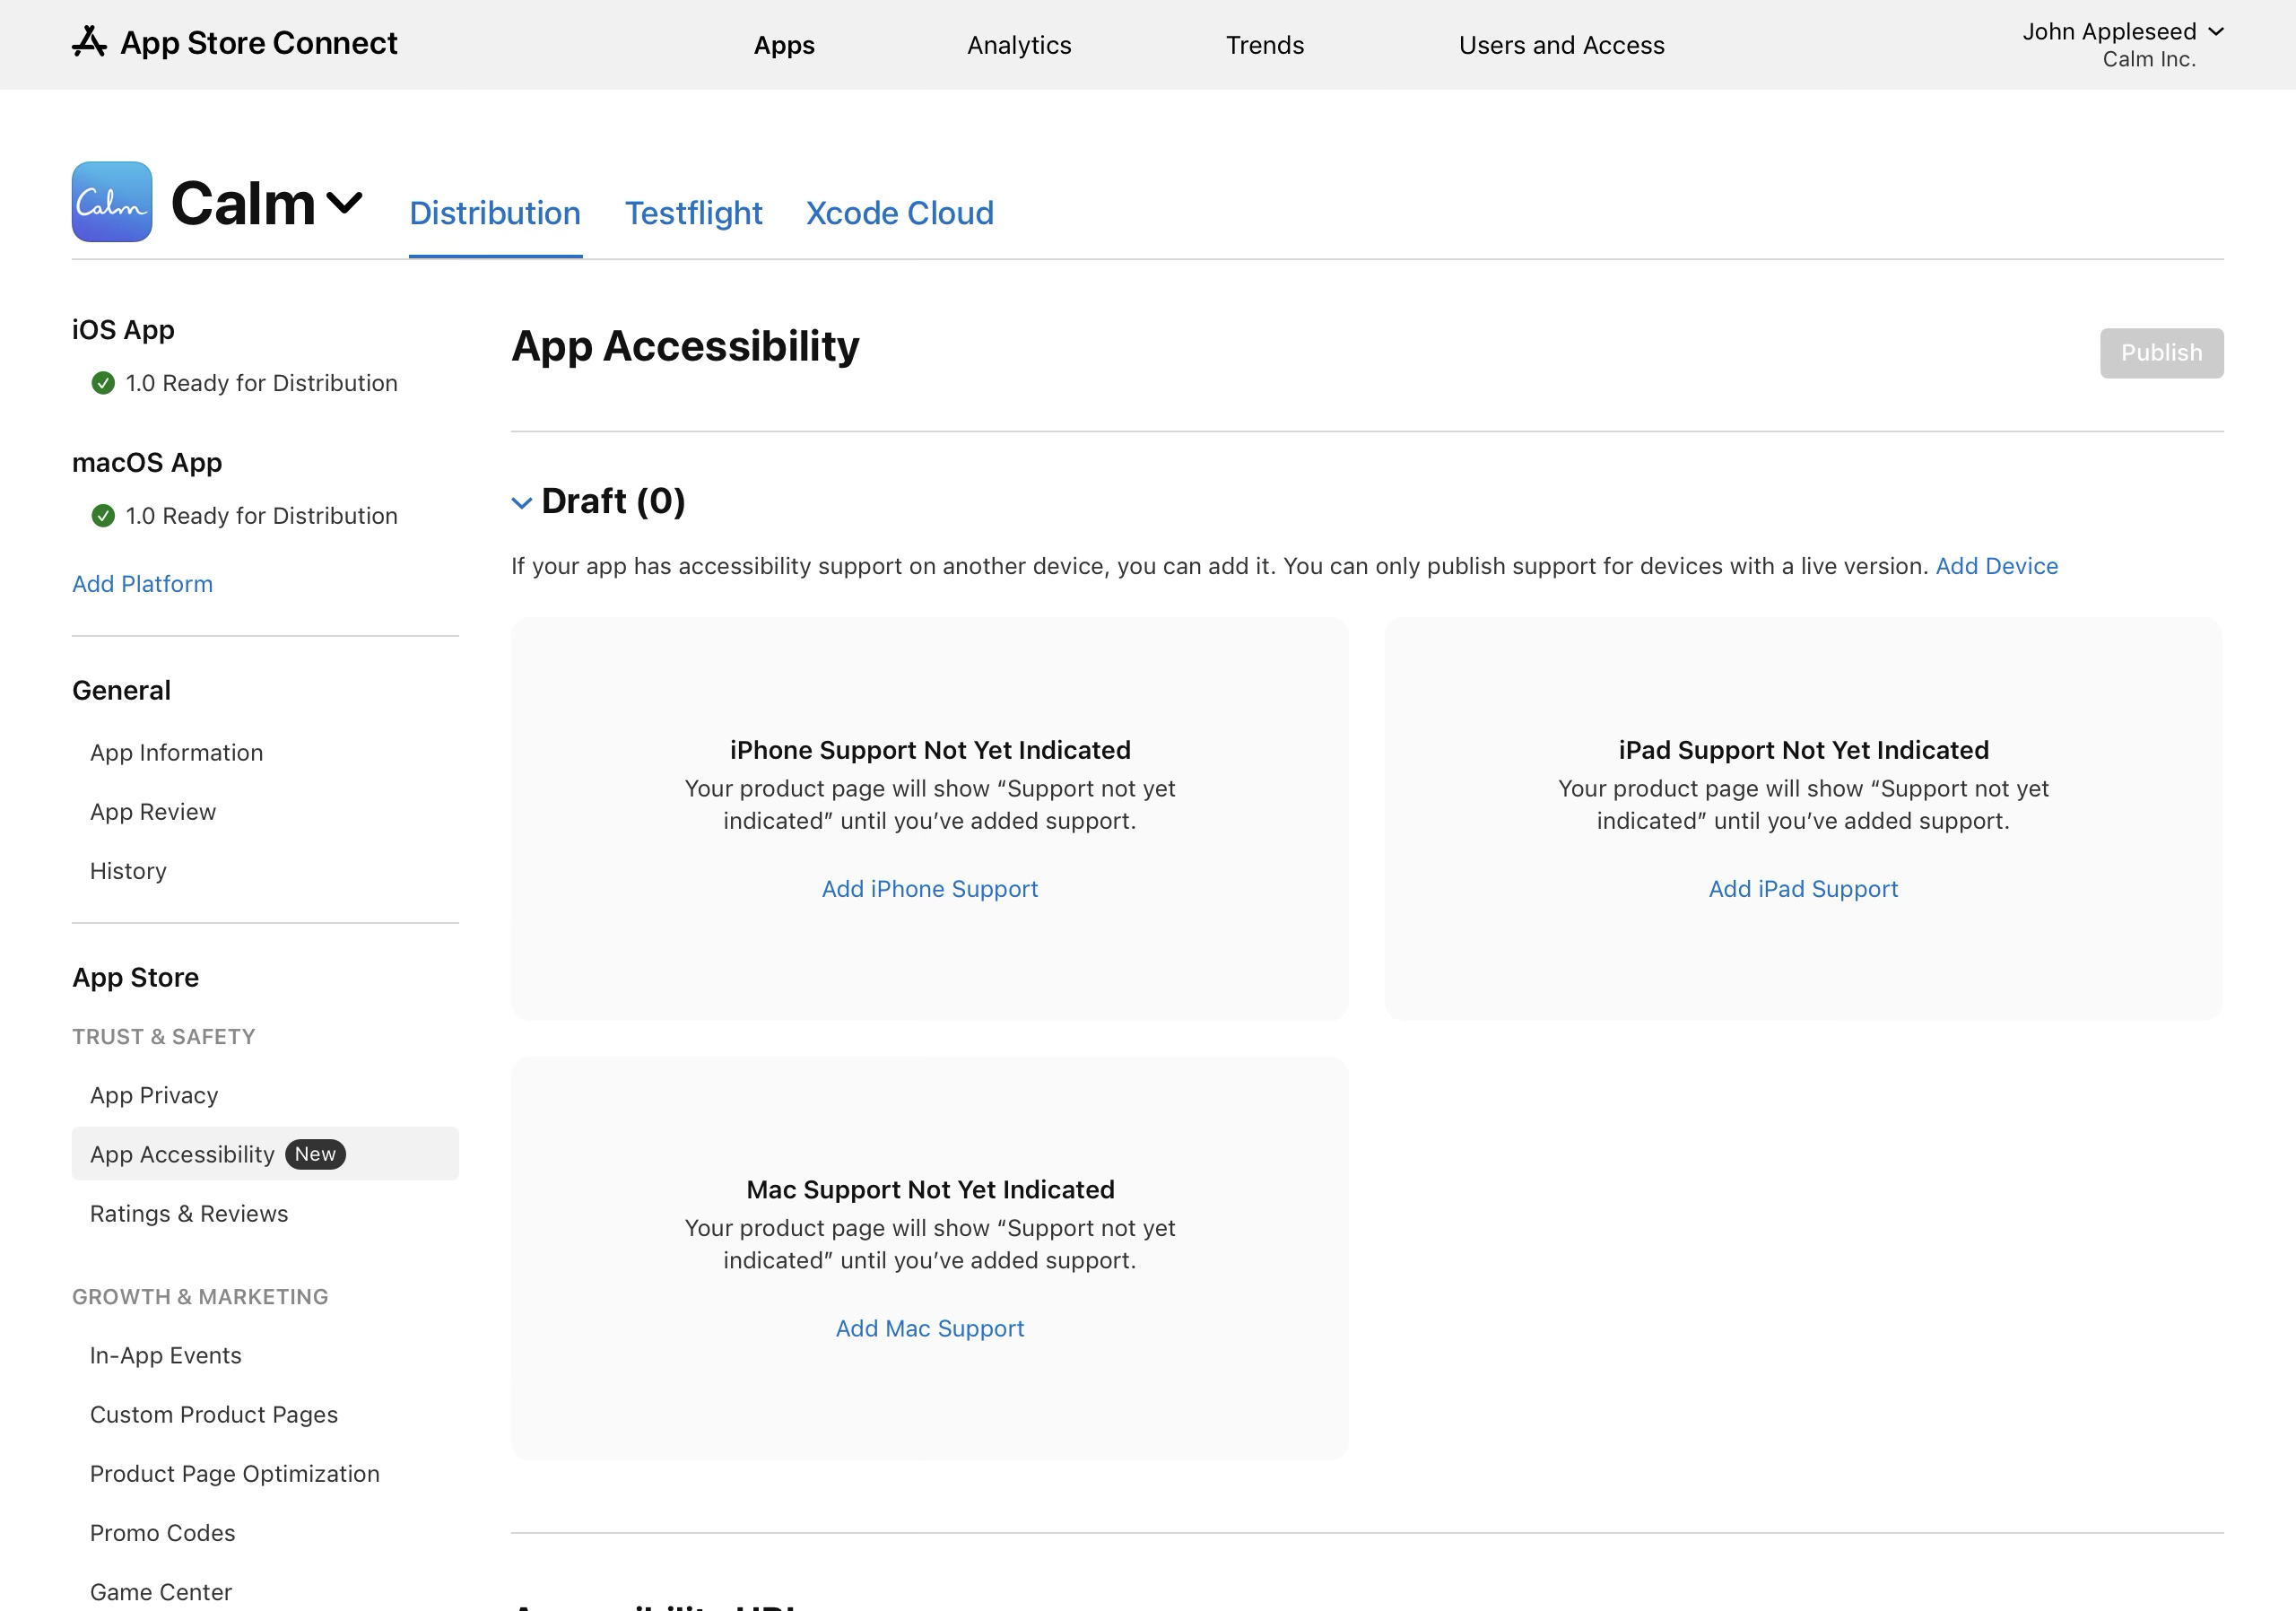
  5. Click Add [Device] Support for the relevant device.

    Screenshot of the "App Accessibility" page shows that accessibility support hasn’t yet been indicated for iPhone, iPad, or Mac. The page displays messages saying "Your product page will show "Support not yet indicated" until you've added support." with links to "Add iPhone Support", "Add iPad Support", and "Add Mac Support" respectively. A  non-interactive "Publish" button is present at the top right of the screen.
  6. Select Yes if your app supports any of the accessibility features on the selected device, or No if it doesn’t support any of the features, then click Next.

    Screenshot of a popup window titled "Add iPhone Support" describes the requirements for supporting an accessibility feature. It lists several accessibility features, including VoiceOver, Voice Control, Adjustable Text Size, Dark Interface, Differentiate without Color Alone, Sufficient Contrast, Reduced Motion, Captions, and Audio Descriptions. It then asks, "Does your app support any of the above features on iPhone?" with "Yes" selected. A link to "Review Accessibility Support Criteria" is presented. There are "Back", "Cancel", and "Next" buttons at the bottom of the window.
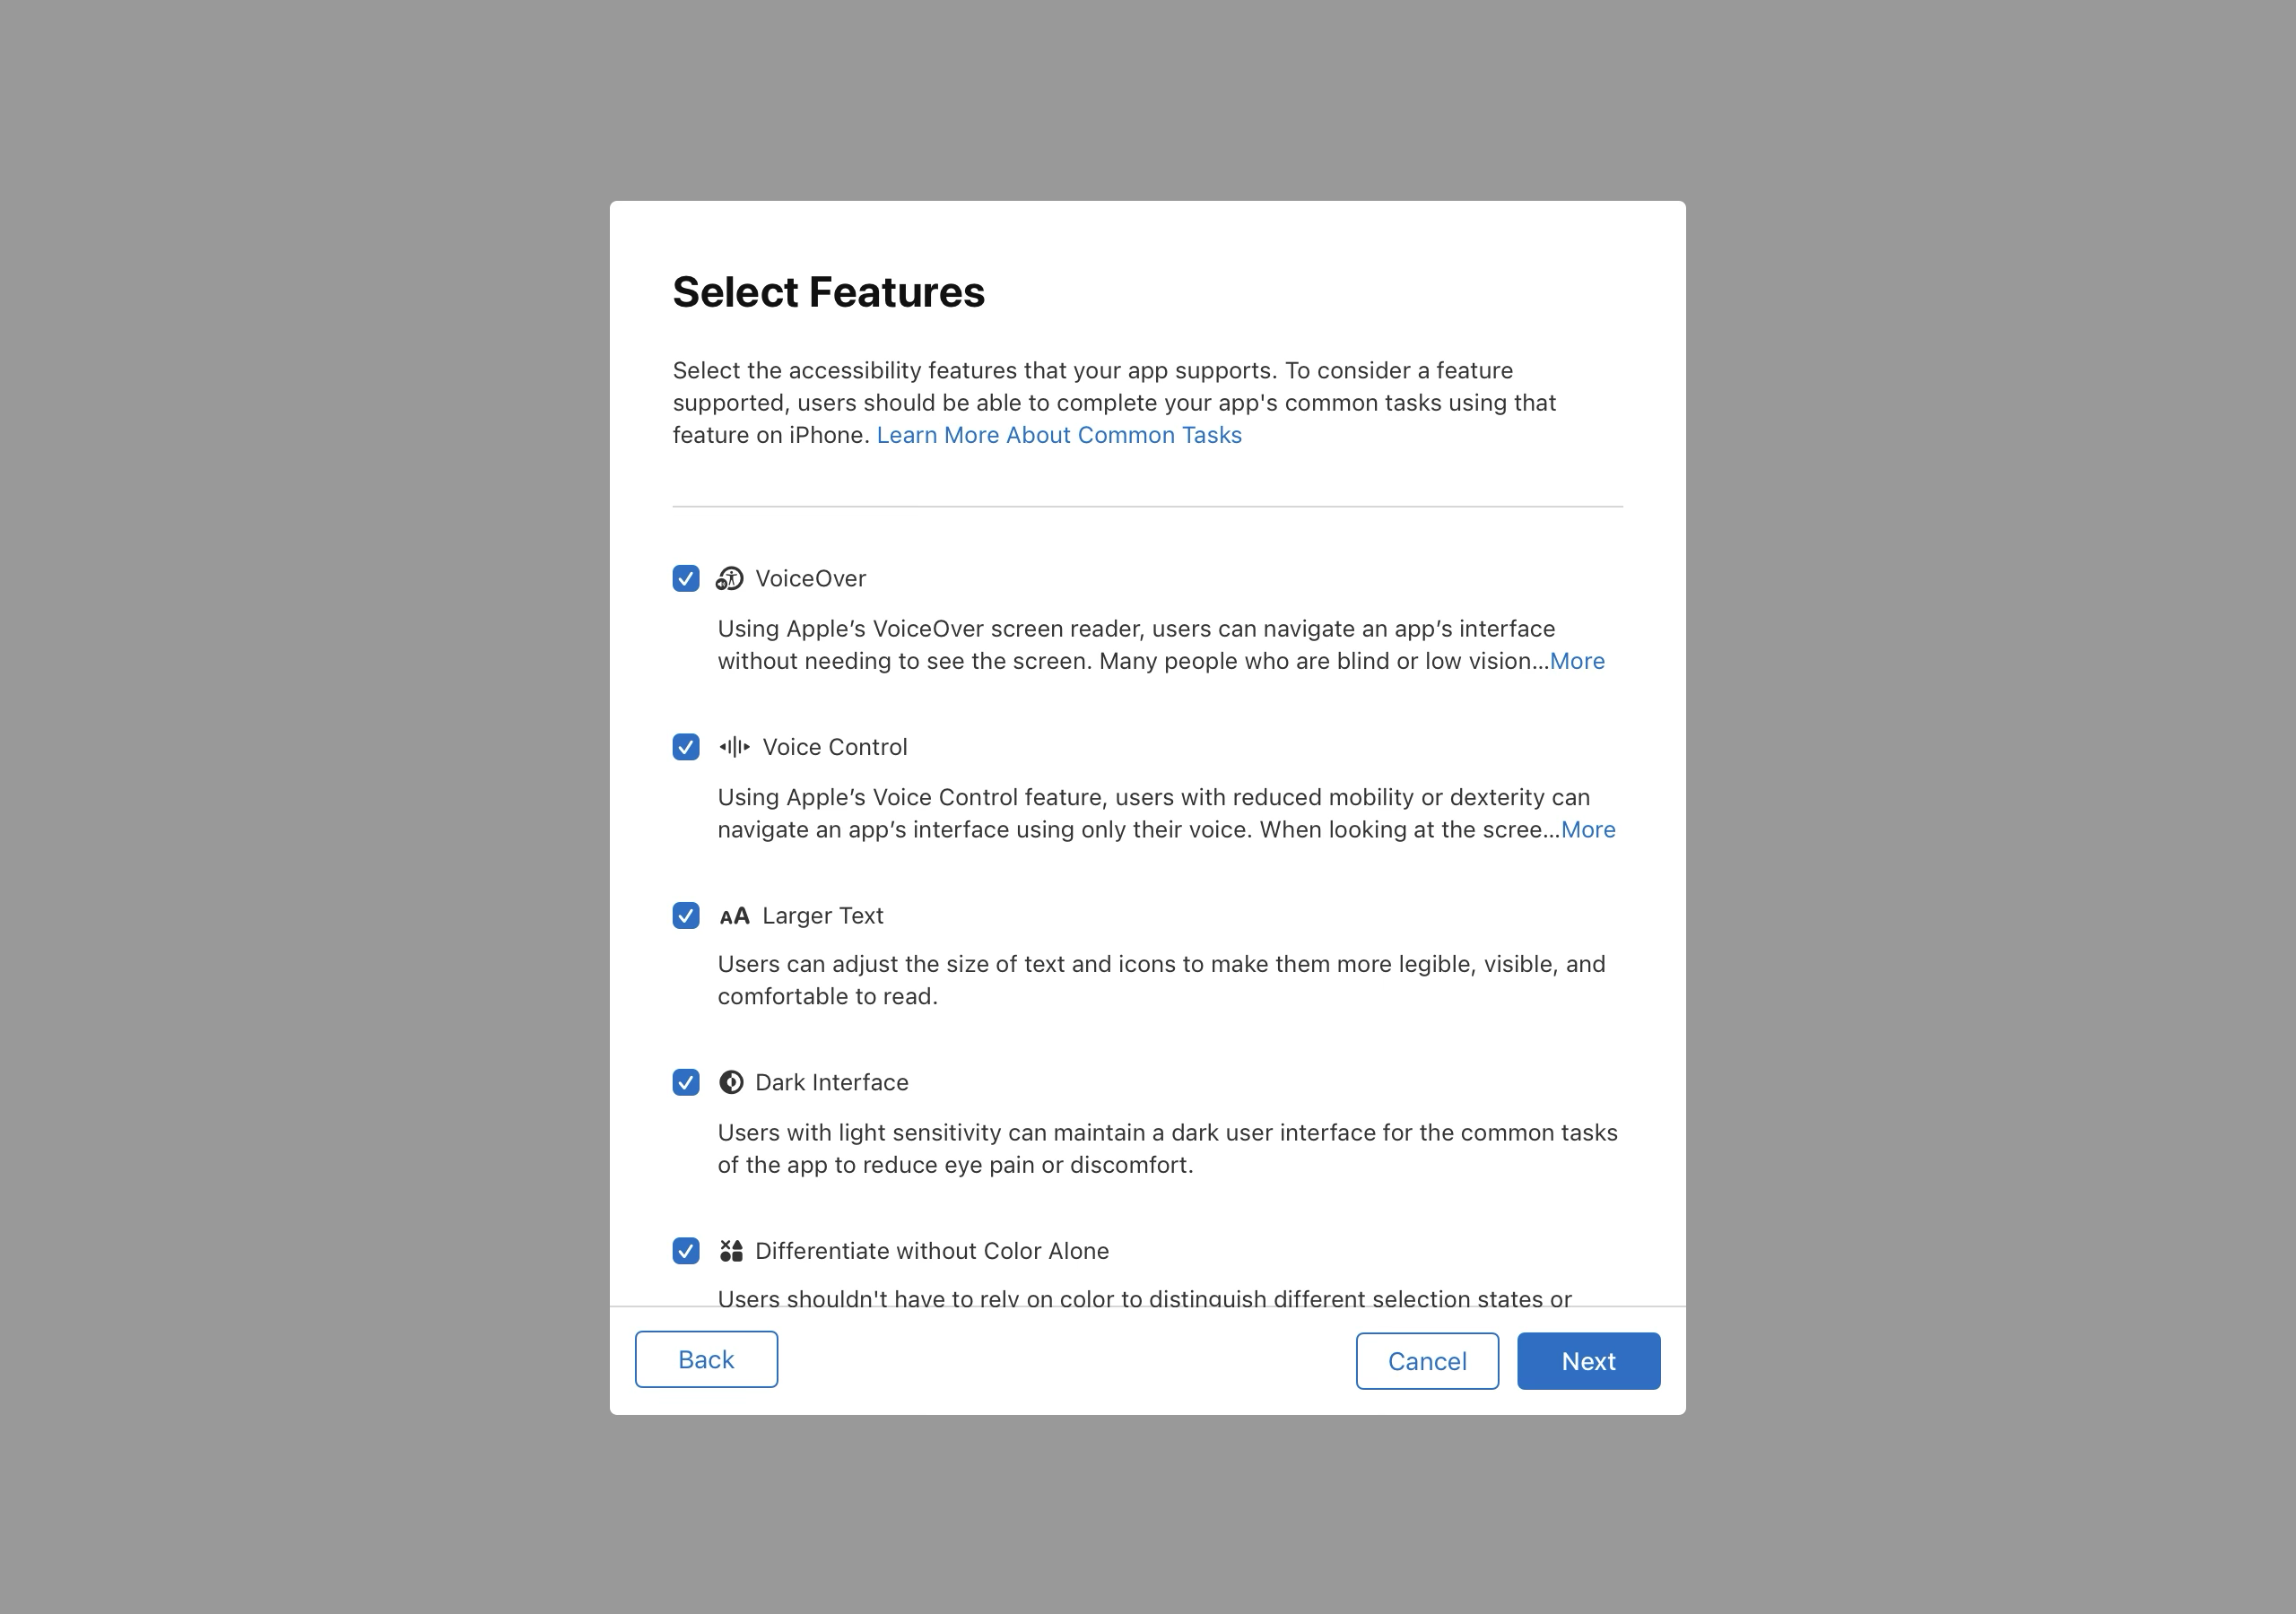
  7. Select the accessibility features that your app supports, then click Next.

    Screenshot of a popup window titled "Select Features" prompts users to select the accessibility features their app supports. Each feature is listed with a brief description and a checkbox. The following features are selected: VoiceOver, Voice Control, Larger Text, Dark Interface, and Differentiate without Color Alone. Buttons for "Back", "Cancel", and "Next" are located at the bottom of the window.
  8. Your responses will be saved as a draft. Click Publish to publish your responses to the App Store.

    Screenshot of the "App Accessibility" page now shows accessibility support indicated for iPhone, iPad, and Mac with the label "Draft (3)". Under each device, the supported features are listed, including Voice Control, VoiceOver, Adjustable Text Size, Larger Text, Dark Interface, Sufficient Contrast, Reduced Motion, Differentiate without Color, Captions, and Audio Descriptions. An "Edit" link is available next to each device name. A "Publish" button is available at the top right of the screen.

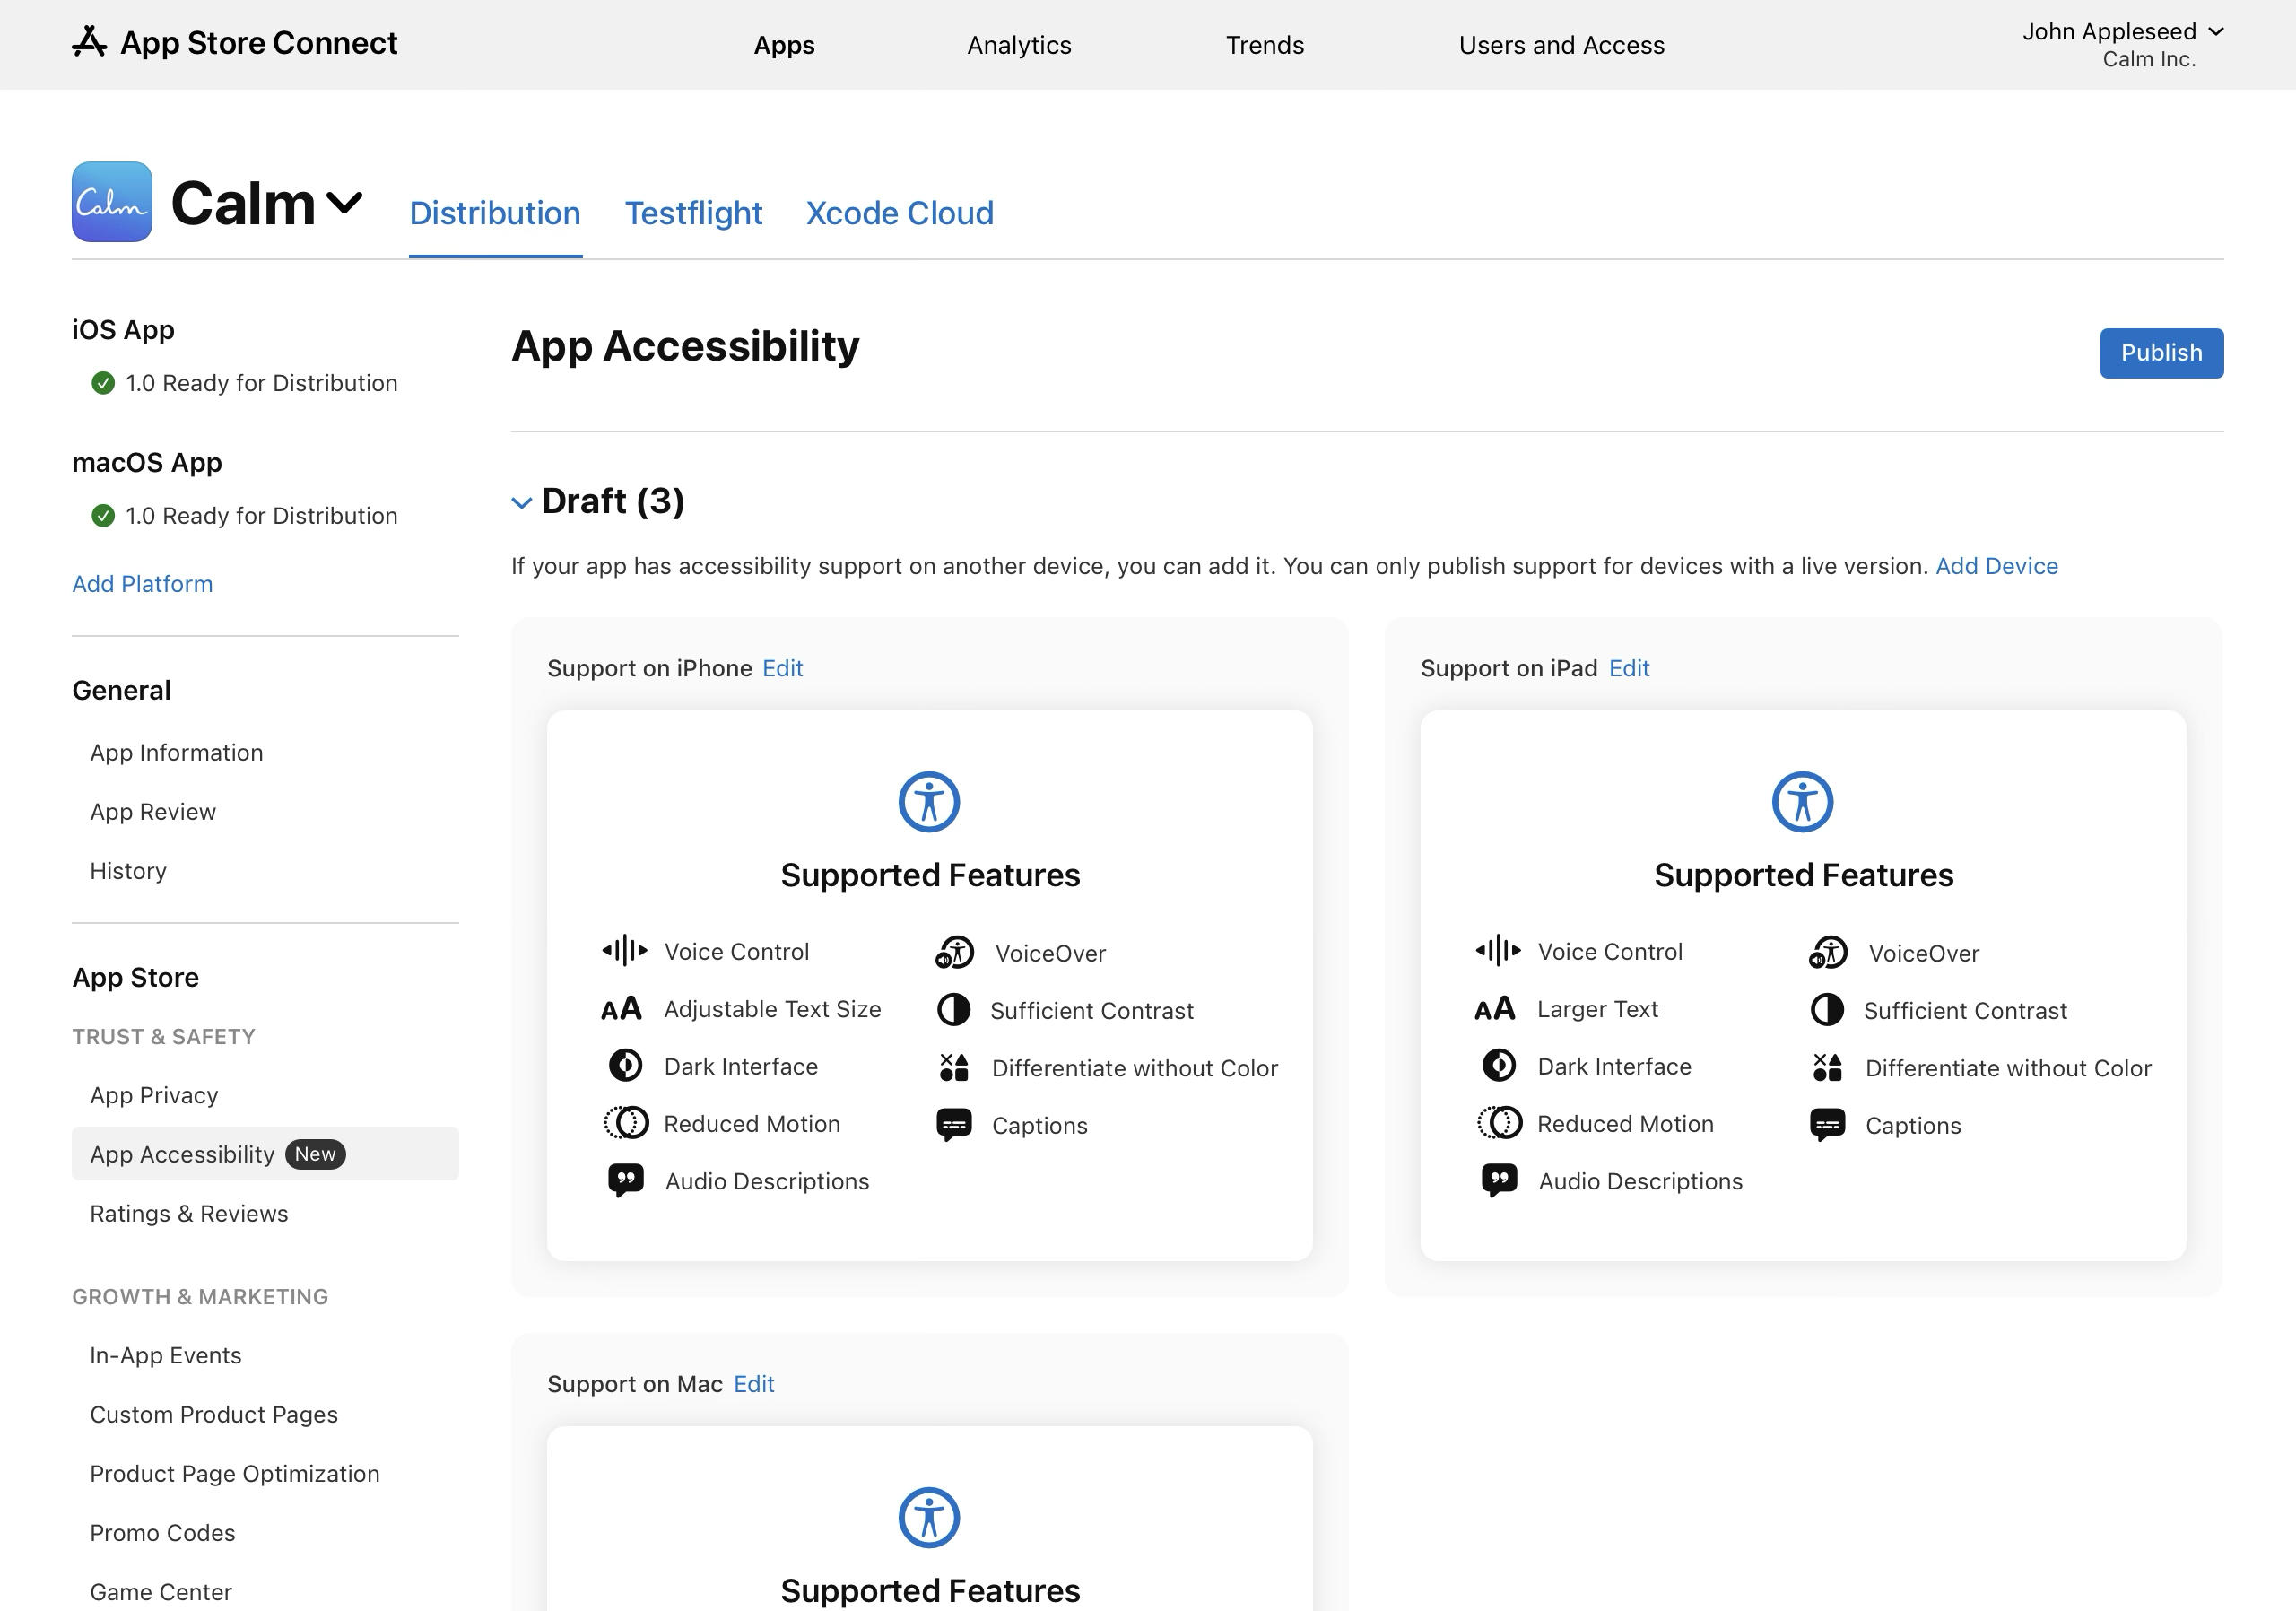
    You can only publish support for devices that have a live version on the App Store.

    If you’ve indicated support for multiple devices, you’ll need to confirm the devices you want to publish support for. Select each applicable device, then click Publish again.

    Screenshot of a popup window titled "Confirm Publish" prompts the user to select the device support they want to publish. The accessibility information for each device will immediately appear on the product page and can't be unpublished. It lists iPhone and Mac with checkboxes, where iPhone and Mac are checked. iPad is listed as well but is unchecked. Buttons for "Cancel" and "Publish" are located at the bottom of the window.

    The responses will be published immediately but may require up to 24 hours to be visible to all users.

Update your app’s accessibility support

You can update your app accessibility responses at any time.

  1. In Apps, select the app you want to view.

  2. In the sidebar, select App Accessibility.

  3. On the right, click Edit next to the device you want to update your responses for.

    Screenshot of the "App Accessibility" page shows "Published (1)" and "Draft (0)." Under "Published (1)", support for iPhone is indicated. The listed features include Voice Control, Larger Text, Dark Interface, Sufficient Contrast, Reduced Motion, and Captions. There is an "Edit" link next to the "Support on iPhone" label. At the bottom of the page, there's a section for the "Accessibility URL," where additional accessibility information can be provided. A non-interactive "Publish" button is present at the top right of the screen.
  4. Make your desired changes, then click Save.

  5. Click Publish to publish your updated responses to the App Store.

  6. The changes will take effect immediately but may require up to 24 hours to be visible to all users.

Manage the accessibility URL

If you have other accessibility information you'd like to provide, you can optionally include a URL. This link will show on your app's product page across all devices, except Apple TV.

  1. In Apps, select the app you want to view.

  2. In the sidebar, select App Accessibility.

  3. Below Accessibility URL, click Add URL.

    Screenshot of the "Accessibility" page shows "Draft (0)" and an "Accessibility URL" section with a field to "Add URL". Below that, there's a "Learn More About Accessibility Features" section, listing features like VoiceOver, Voice Control, Larger Text, Dark Interface, Differentiate without Color Alone, and Sufficient Contrast. A "Publish" button is visible at the top right of the screen.

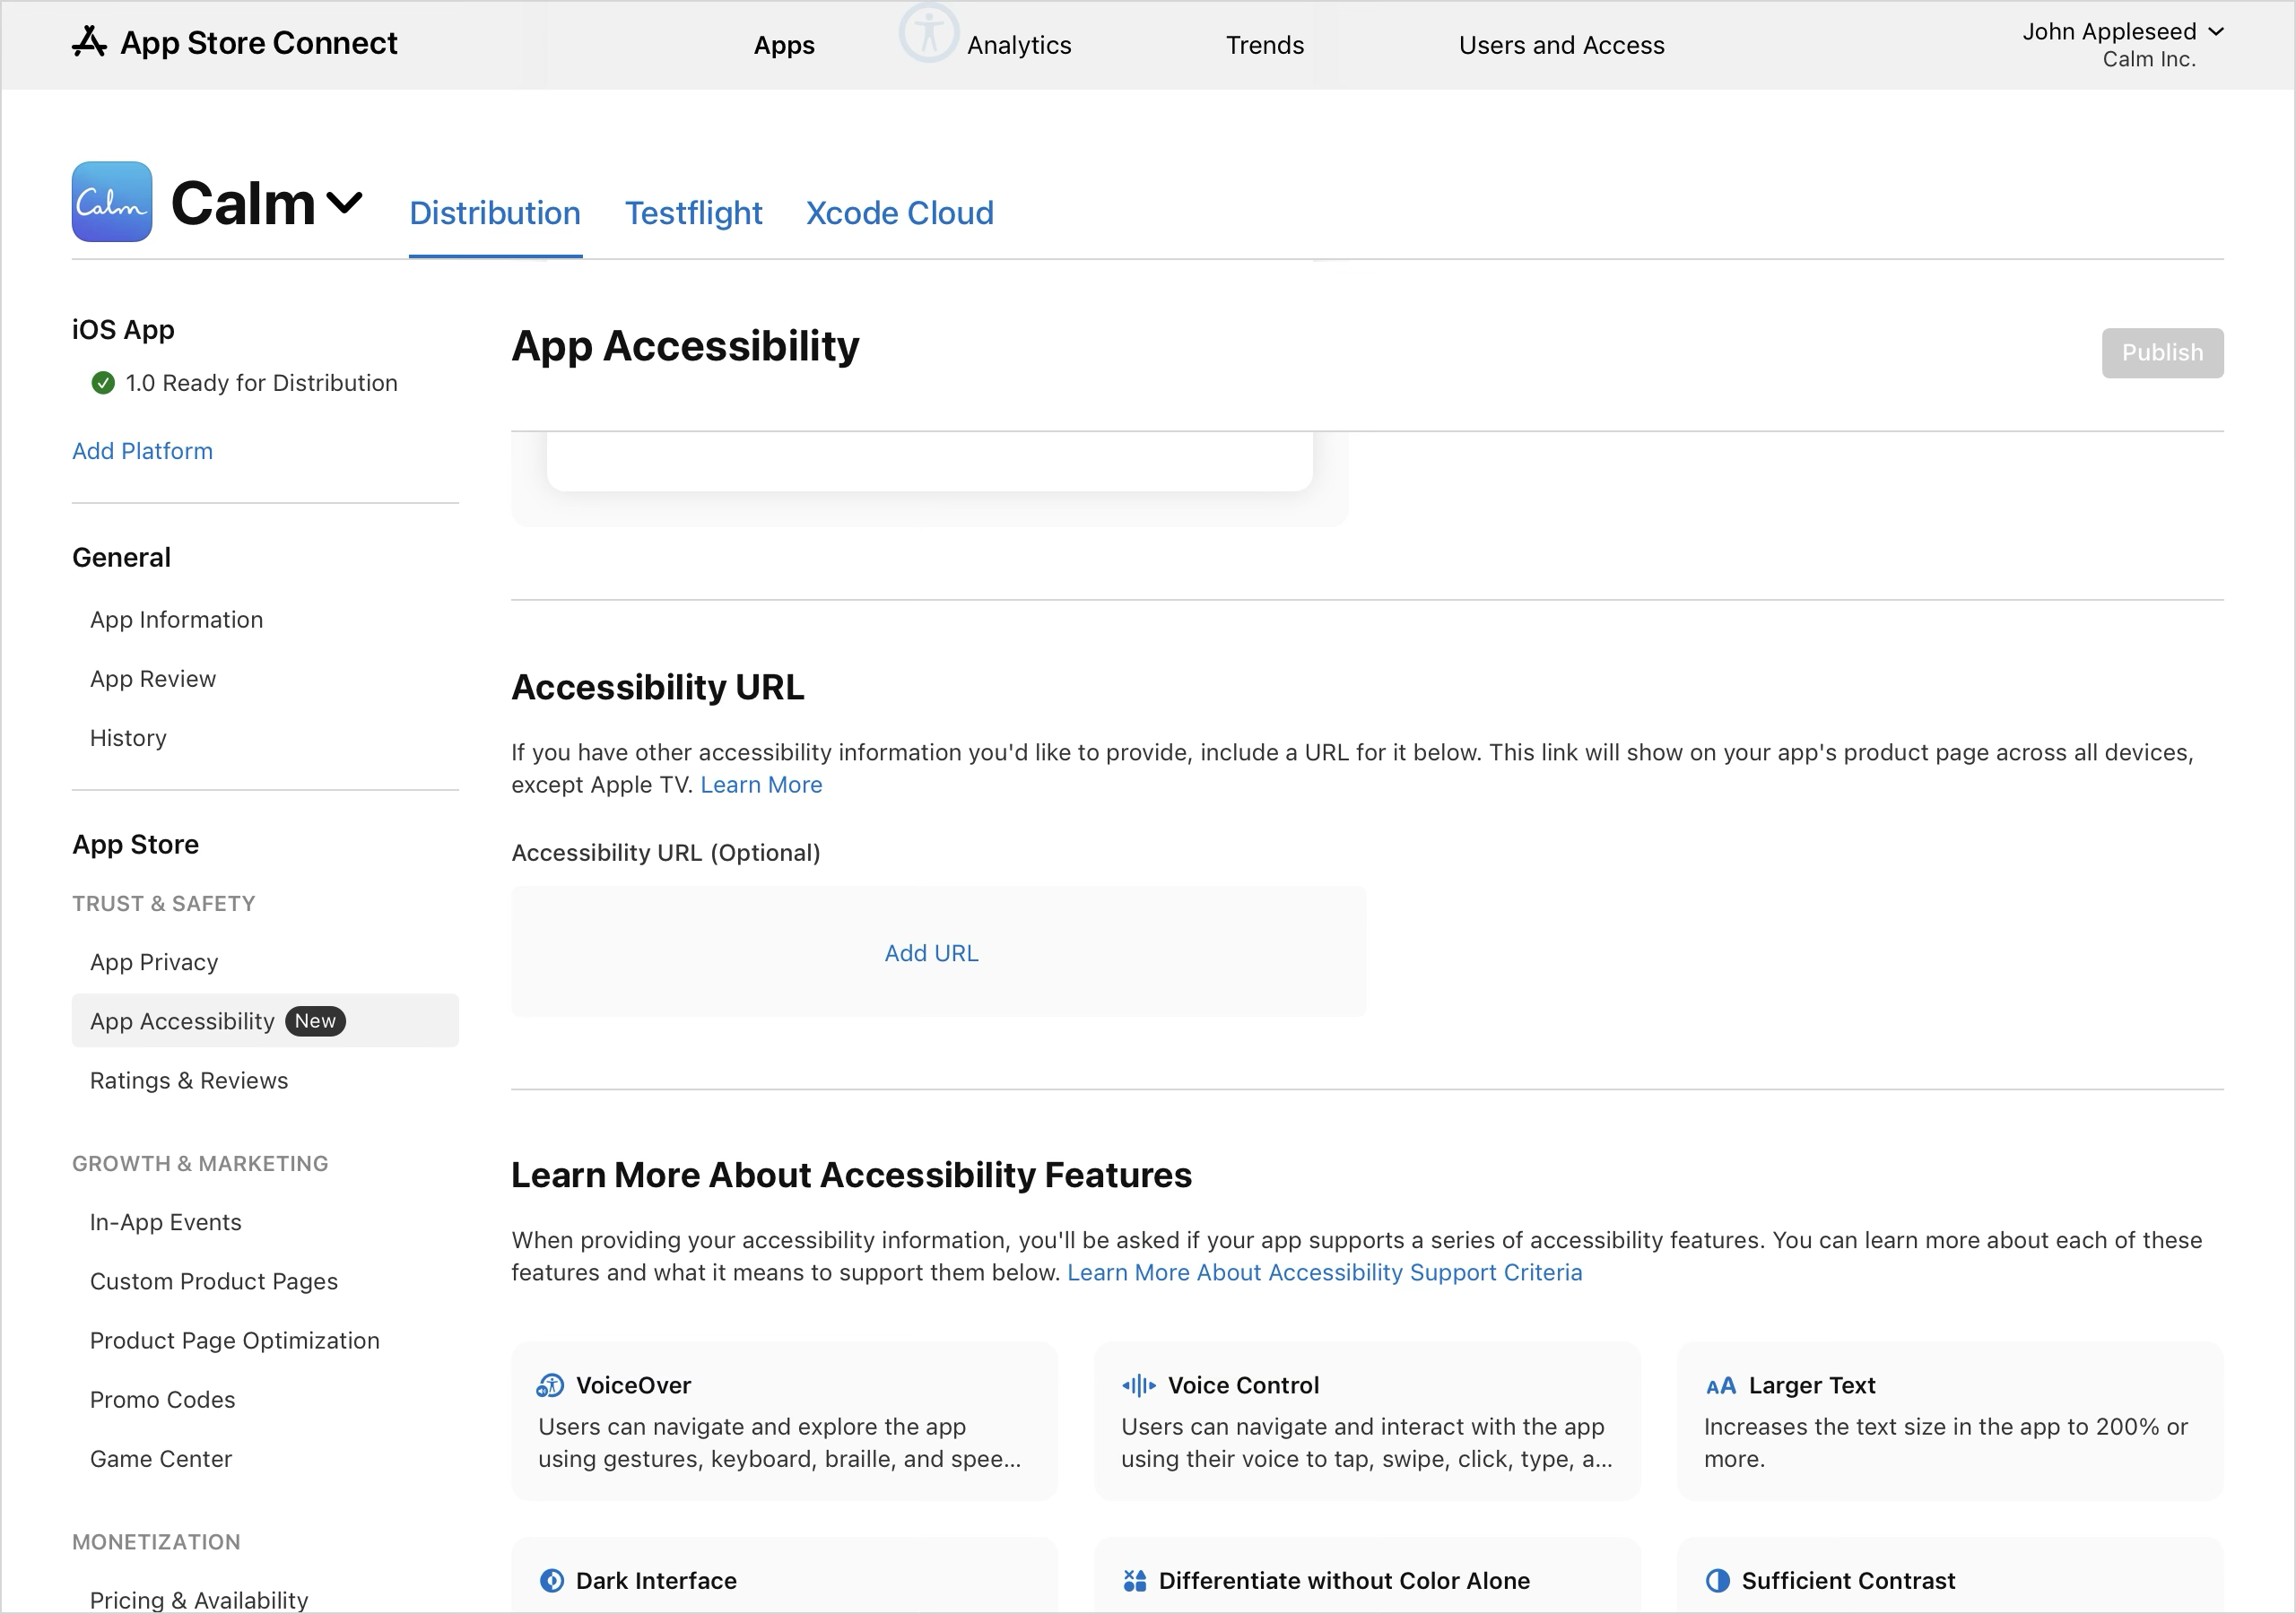
    To update the accessibility URL, click Edit next to the existing URL.

  4. Enter your URL, then click Publish.

  5. If your app is already live on the App Store, the URL will be published immediately but may require up to 24 hours to be visible to all users. If you haven’t published any versions of your app yet, the accessibility URL will automatically go live with the first release.